


TL;DR: Quick answer and recommended next step
Why creators are turning photos into AI avatars
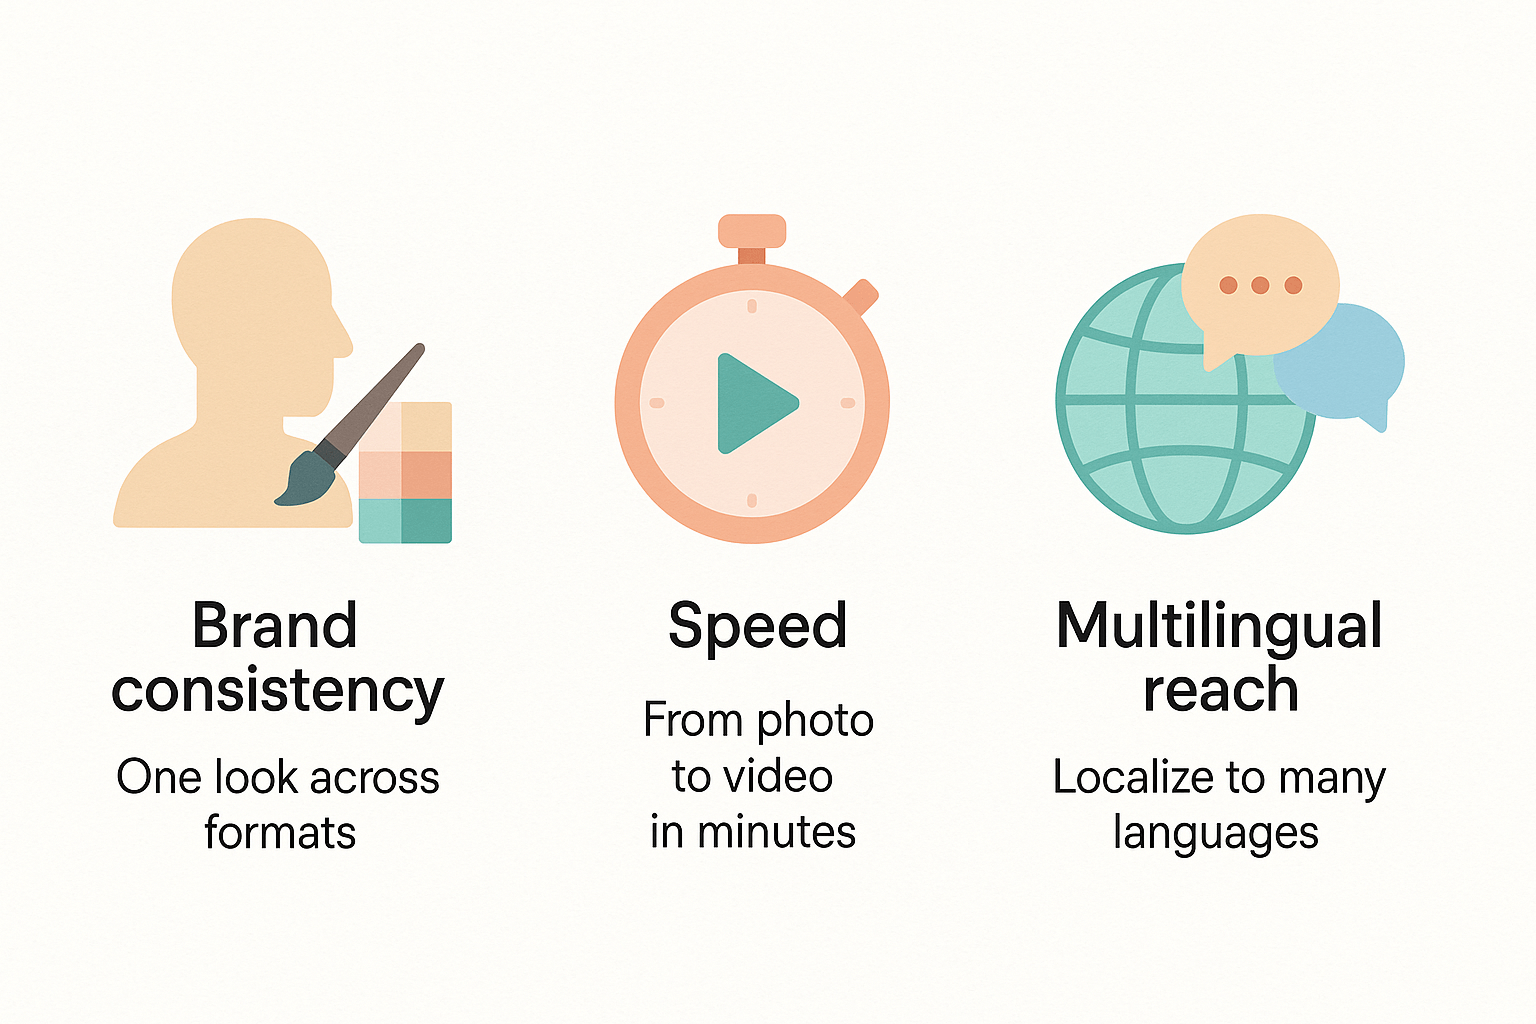
Brand consistency: one look, many formats
-
Reuse the same avatar for short clips, full lessons, and social promos.
-
Apply consistent lighting and background options with a few clicks.
-
Match avatar appearance to brand colors and logos for instant recognition.
Speed and cost: publish faster, iterate more
-
Create or upload a talking photo avatar.
-
Clone or synthesize the voice you want.
-
Import your script, then dub and subtitle.
-
Export localized videos for each platform.
Localization and reach: one asset, many markets
-
Faster turnaround for translated episodes and promos.
-
Consistent on-screen presence across locales.
-
Easier A/B testing of voice and messaging per market.
Where avatars add the most value
-
Course modules and onboarding tutorials.
-
Short social videos and evergreen clips.
-
Localized marketing ads and landing page intros.
Quick objections and short rebuttals
-
"They don’t look real": Modern avatars mimic facial motion and lip sync well, and production choices like background and lighting increase realism.
-
"Copyright and likeness issues": Use photos you control, or get clear permission. Many platforms also lock cloned voices to the original speaker for safety.
-
"My audience will reject synthetic voices": Start with hybrid approaches, like a cloned voice based on your real sample, then test reaction with small runs.
Bottom line: practical gains, low friction
How AI avatars, voice cloning and dubbing work together for video
Pipeline at a glance
-
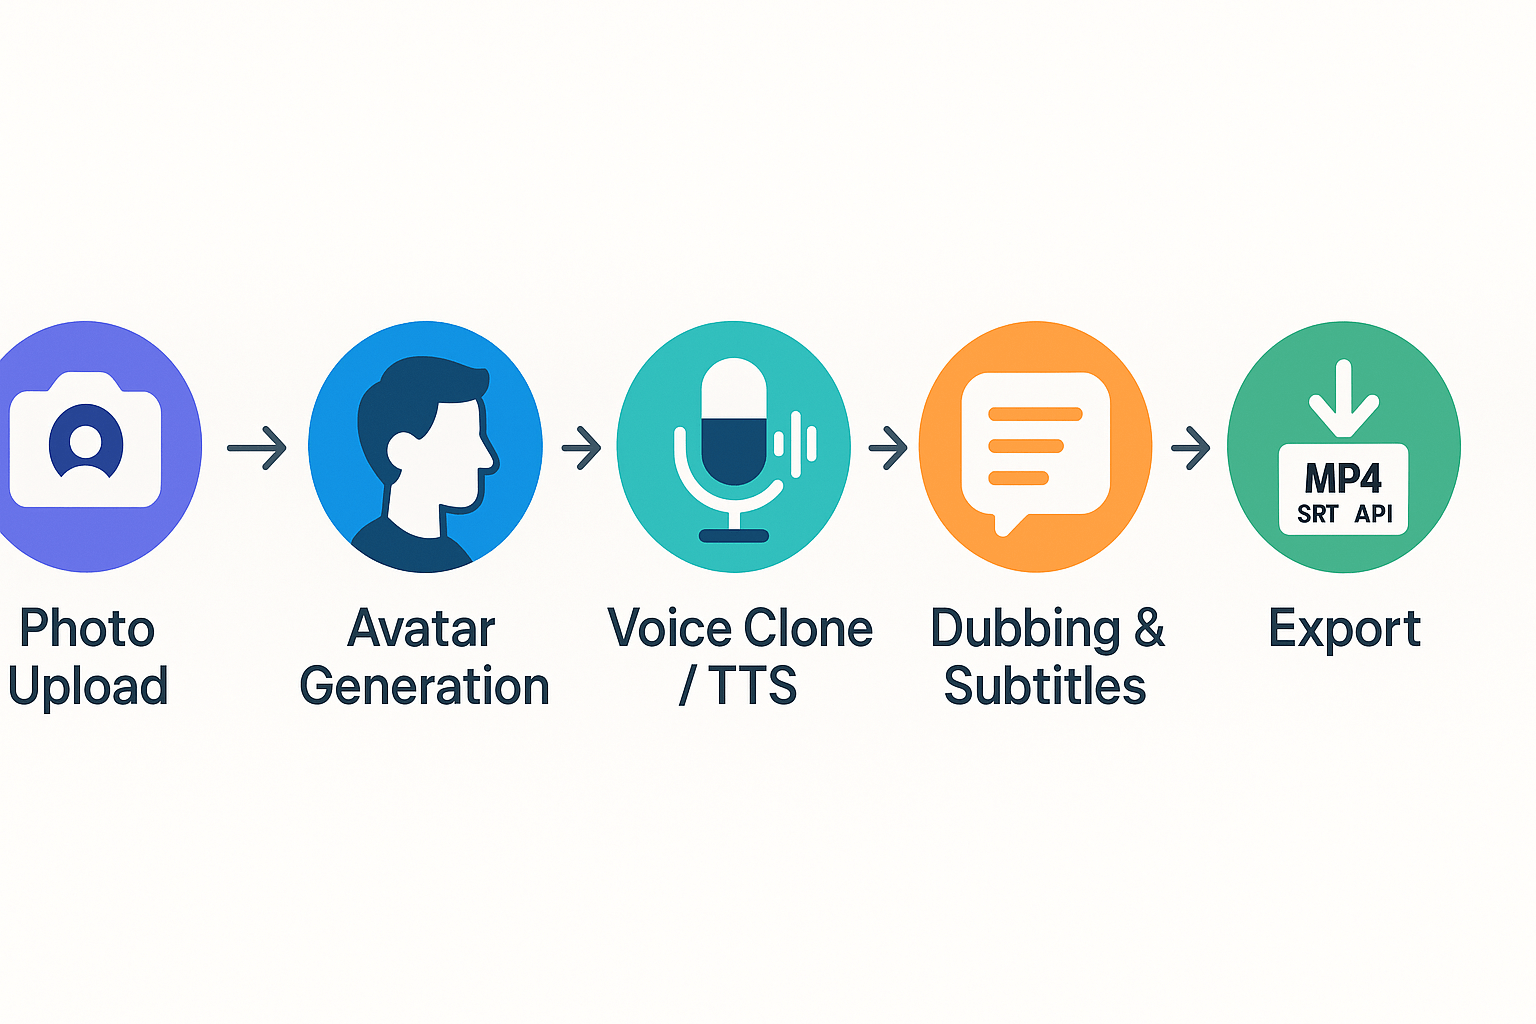
Photo upload and prep
-
Upload a clear, high-resolution headshot. The image becomes the visual base for a talking avatar. Output: a prepared image and crop ready for avatar generation.
-
-
Avatar generation (Talking Photo / AI Avatars)
-
The platform builds a speaking character from the photo. Output: a reusable avatar asset with facial rig and mouth maps for lip motion.
-
-
Voice creation: voice cloning or TTS
-
Use a 30-second sample to create a voice clone, or pick a TTS voice for new languages. Output: synthetic voice files (WAV/MP3) and voice profiles you can reuse.
-
-
Transcription and subtitle alignment
-
Auto-transcribe original audio, then translate and align subtitles to speech timing. Output: editable transcripts and SRT subtitle files.
-
-
AI dubbing and sync
-
Re-voice the avatar with the cloned voice or a TTS voice. The system aligns speech to the avatar mouth shapes and the subtitle timings. Output: locally dubbed audio tracks and synced video timelines.
-
-
Export and integrations
-
Export final video (MP4), subtitle files (SRT), and deliver via API or direct integrations. Output: MP4, SRT, MP3, and automation-ready endpoints.
-
How DupDub modules map to each step
-
Photo upload and Avatar Gen: DupDub Talking Photo and AI Avatars. Use the avatar editor to set head turn, blink, and stabilization.
-
Voice cloning and TTS: DupDub Voice Cloning (30s sample) or TTS library (700+ voices, 90+ languages). Save voice profiles for reuse.
-
Transcription and subtitles: DupDub Speech-to-Text and AI Subtitles for auto transcripts, translation, and timecodes.
-
Dubbing and lip sync: DupDub AI Dubbing combines translated text, voice profiles, and avatar mouth maps to generate dubbed video.
-
Export and automation: DupDub export supports MP4, WAV/MP3, SRT, and an API for bulk jobs and pipeline automation.
Outputs, sync notes, and integrations
-
File formats: MP4 for video, WAV/MP3 for audio, SRT for subtitles, plus JSON job reports via API.
-
Sync quality: good lip sync needs a clean voice sample and precise timing. Short, expressive sentences help mouth motion match.
-
Integrations: direct Canva and Chrome extensions, YouTube transcript plug-ins, and an API for programmatic localization.
Quick production checklist
-
Prepare a high-res, well-lit photo and 30 seconds of clean voice audio for cloning.
-
Draft localized scripts before dubbing to reduce rework.
-
Review auto-generated subtitles and adjust timing where needed.
-
Test one short scene end to end to verify lip sync, voice tone, and subtitle placement.
Step-by-step: Create an avatar from a photo and use it in a video (practical tutorial)
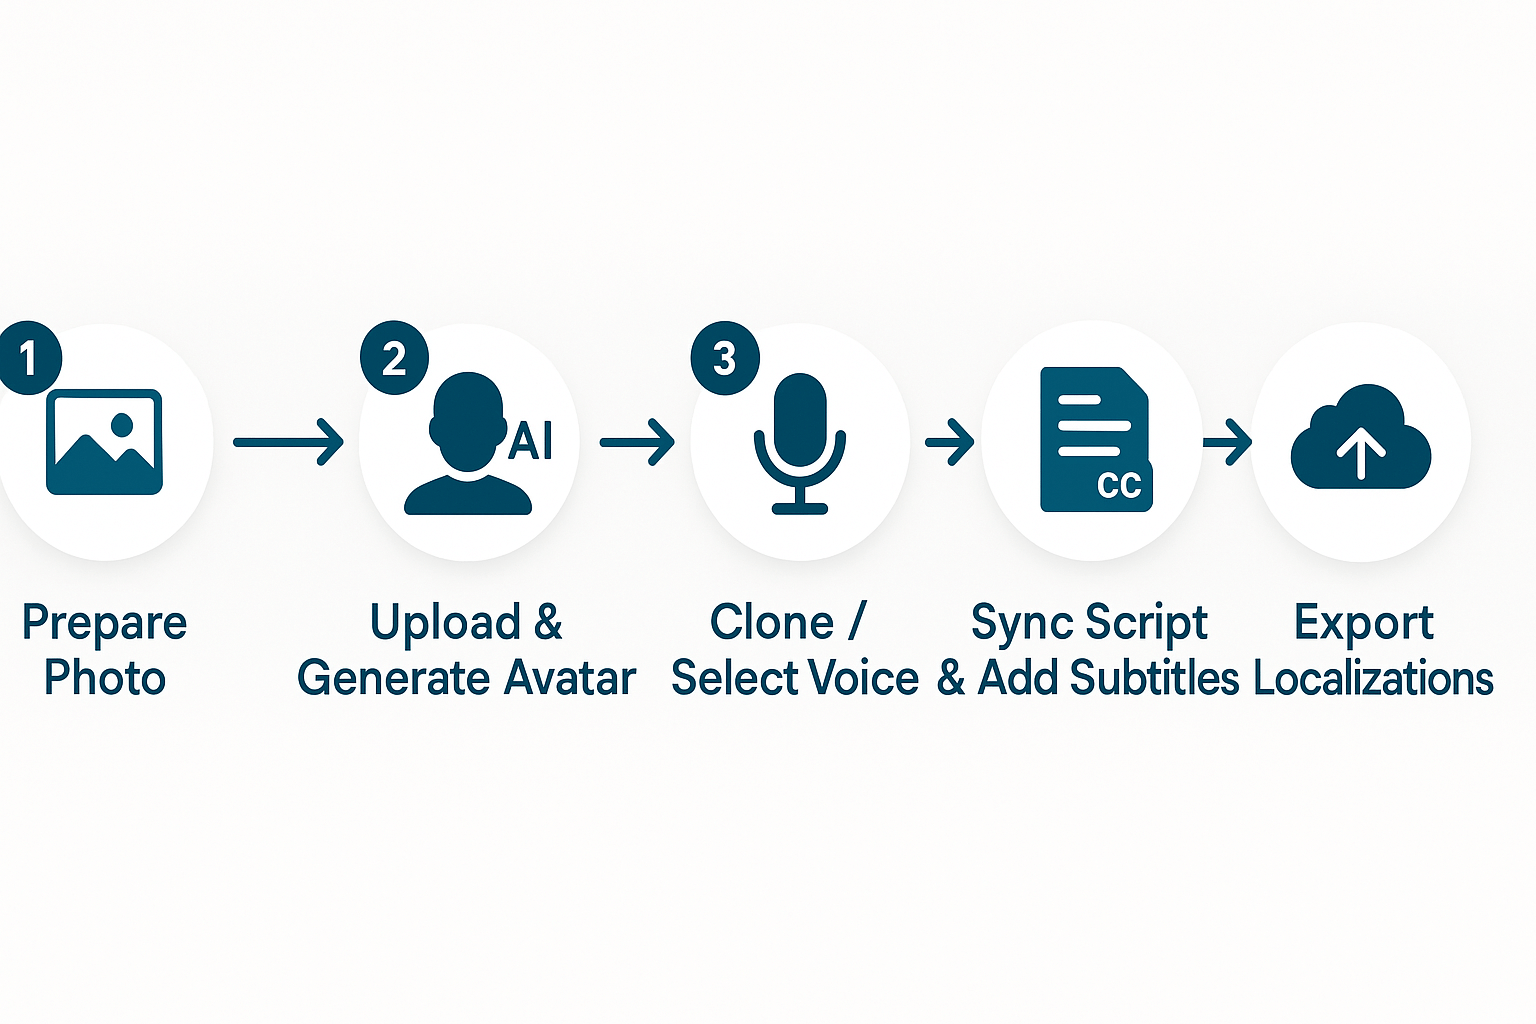
Quick checklist: the five main steps
-
Prepare the photo
-
Upload and generate the avatar in DupDub
-
Clone or select a voice
-
Sync the script and add subtitles
-
Export localized videos and assets
1. Prepare the photo
-
Remove heavy shadows and strong color casts.
-
Avoid hats, sunglasses, or busy hair that hides the face.
-
Create two variants: one smiling, one neutral, to test expressions.
2. Upload and generate the avatar in DupDub
-
Choose a lifelike style for close-up narration.
-
Set moderate motion for clear lip sync, not exaggerated gestures.
-
Save the generated avatar as a project so you can reuse it.
3. Clone or select a voice
-
For cloning, use a clean recording with minimal reverb.
-
Test the clone by reading a 15 second sample script.
-
Match the voice accent and energy to your audience.
4. Sync the script and add subtitles
-
Break long sentences into shorter lines for better lip sync.
-
Add small pauses in the script text where natural breaths occur.
-
Use phrase-level timing adjustments if the avatar seems rushed.
5. Export localizations and assets
-
Export a proof for each language to check sync and tone.
-
Download separate SRT files for platform uploads.
-
Use the project copy to produce short social cuts and thumbnails.
Quick troubleshooting and speed hacks
-
If lips look off, shorten long sentences and re-run alignment.
-
If the cloned voice sounds unnatural, re-record a clearer sample.
-
To save credits, test in one language, then scale to others.
Photo, prompt and voice best practices for higher-quality avatars
Photo do's and don'ts
-
Do use a neutral background that contrasts with hair and clothing.
-
Do keep the subject facing the camera with a slight, natural smile.
-
Do provide one full-face shot and one slight three-quarter angle for variety.
-
Don’t use grainy, low-light, or highly compressed photos.
-
Don’t use profile-only shots or heavy backlighting.
Prompt-writing rules for consistent avatars
-
Visual style: photorealistic, artful, cartoonish, or stylized.
-
Lighting and background: soft window light, plain light gray, or studio key light.
-
Expression and pose: calm smile, slight head tilt, direct eye contact.
-
Visual: "Photorealistic headshot, soft key light, light gray background, visible shoulders."
-
Tone: "Warm, clear, mid-pace delivery with light enthusiasm."
Voice, pacing and timing tips for better lip-sync
-
Target 140 to 160 words per minute for natural talk.
-
Insert 150 to 300 ms pauses at commas, and 400 to 700 ms at phrase and paragraph breaks.
-
Add short breath cues before long sentences to keep timing realistic.
Quick troubleshooting checklist
-
Swap the photo to a slightly angled shot and regenerate.
-
Add a 300 ms pause before the sentence that misaligns.
-
Use a different voice clone with closer pitch to the original sample.
-
Re-run subtitle alignment and nudge keyframes manually if available.
Final tip
Privacy, copyright and data handling: what creators should know
How DupDub protects photos and voice samples
-
Encrypted processing and storage for uploads.
-
Voice-clone locking to the original speaker (prevents cross-account reuse).
-
Access controls for team accounts and role permissions.
-
Export options that let you download final MP4 or WAV outputs, not raw training datasets.
What creators legally control
-
Photo copyright stays with the creator or rights holder unless assigned.
-
Likeness and voice rights must be granted by the person pictured or recorded.
-
Model release (written consent) is your strongest proof for commercial use.
How to handle permissions for commercial use
-
Identify the rights holder for the photo or voice sample.
-
Obtain a signed model release that lists commercial uses and localization rights.
-
Keep copies of IDs or other proof when required by contract or platform policy.
User controls: delete, export and audit options
-
Export final MP4, WAV, and SRT files for your archives.
-
Delete voice clones and avatars from the project dashboard when done.
-
Use team roles to limit who can create or publish avatars.
-
Request a complete data export or deletion if required by local law.
Quick compliance checklist before publishing
-
Confirm you own the photo or have a commercial license.
-
Get a signed model release for the person in the image.
-
Collect written consent for the voice sample if using voice cloning.
-
Keep copies of releases and metadata with each localized file.
-
Use platform deletion or export tools to manage retained data.
How DupDub compares to other avatar tools for video creators
Head-to-head: what matters for video creators
|
Tool
|
Avatar quality
|
Voice cloning
|
Languages
|
Export formats
|
Price / credits
|
Best for
|
|
DupDub
|
Lifelike talking photos, synced lips
|
Yes, 30s sample, multilingual
|
90+ TTS, 47 clone languages
|
MP4 video, SRT subtitles, WAV/MP3
|
Free trial; Personal, Pro, Ultimate tiers with yearly credits
|
End-to-end localization & dubbing
|
|
Canva
|
Stylized avatars, limited lip sync
|
No native cloning
|
Limited TTS languages
|
MP4 exports
|
Subscription per user
|
Fast social posts, design-first work
|
|
Media.io
|
Good basic avatars, simple sync
|
Limited voice options
|
Moderate language set
|
MP4, some subtitle export
|
Pay-per-use or subs
|
Quick edits and captioning
|
|
Pixelbin / OpenArt
|
Image generation focus, no real speaking sync
|
None
|
N/A
|
Image outputs only
|
Mostly free or pay credits
|
Image creation, not video
|
Where DupDub adds the most value
-
Free trial: 3 days, 10 starter credits to test avatars and short clips.
-
Personal ($11/month billed annually): about 2.5 hours of avatar time, 25h TTS, 3 voice clones, 3 avatars.
-
Professional ($30/month billed annually): about 8 hours avatar time, 83h TTS, 5 voice clones, 5 avatars.
-
Ultimate ($110/month billed annually): 41 hours avatar time, 416h TTS, 10 voice clones, 10 avatars.
When a simpler avatar generator is sufficient
Quick checklist to pick a tool
-
Do you need multiple languages or voice clones? If yes, prefer an all-in-one dubbing platform.
-
Do you need exact lip sync and SRT exports? If yes, pick DupDub or similar dubbing-first tools.
-
Is price per clip the priority? Simple avatar makers may be cheaper for single clips.
-
Will you repurpose the same avatar across many videos? If yes, factor clone and avatar limits into your plan.
Advanced tips: syncing, multilingual dubbing and repurposing content
Automate bulk dubbing and subtitles
-
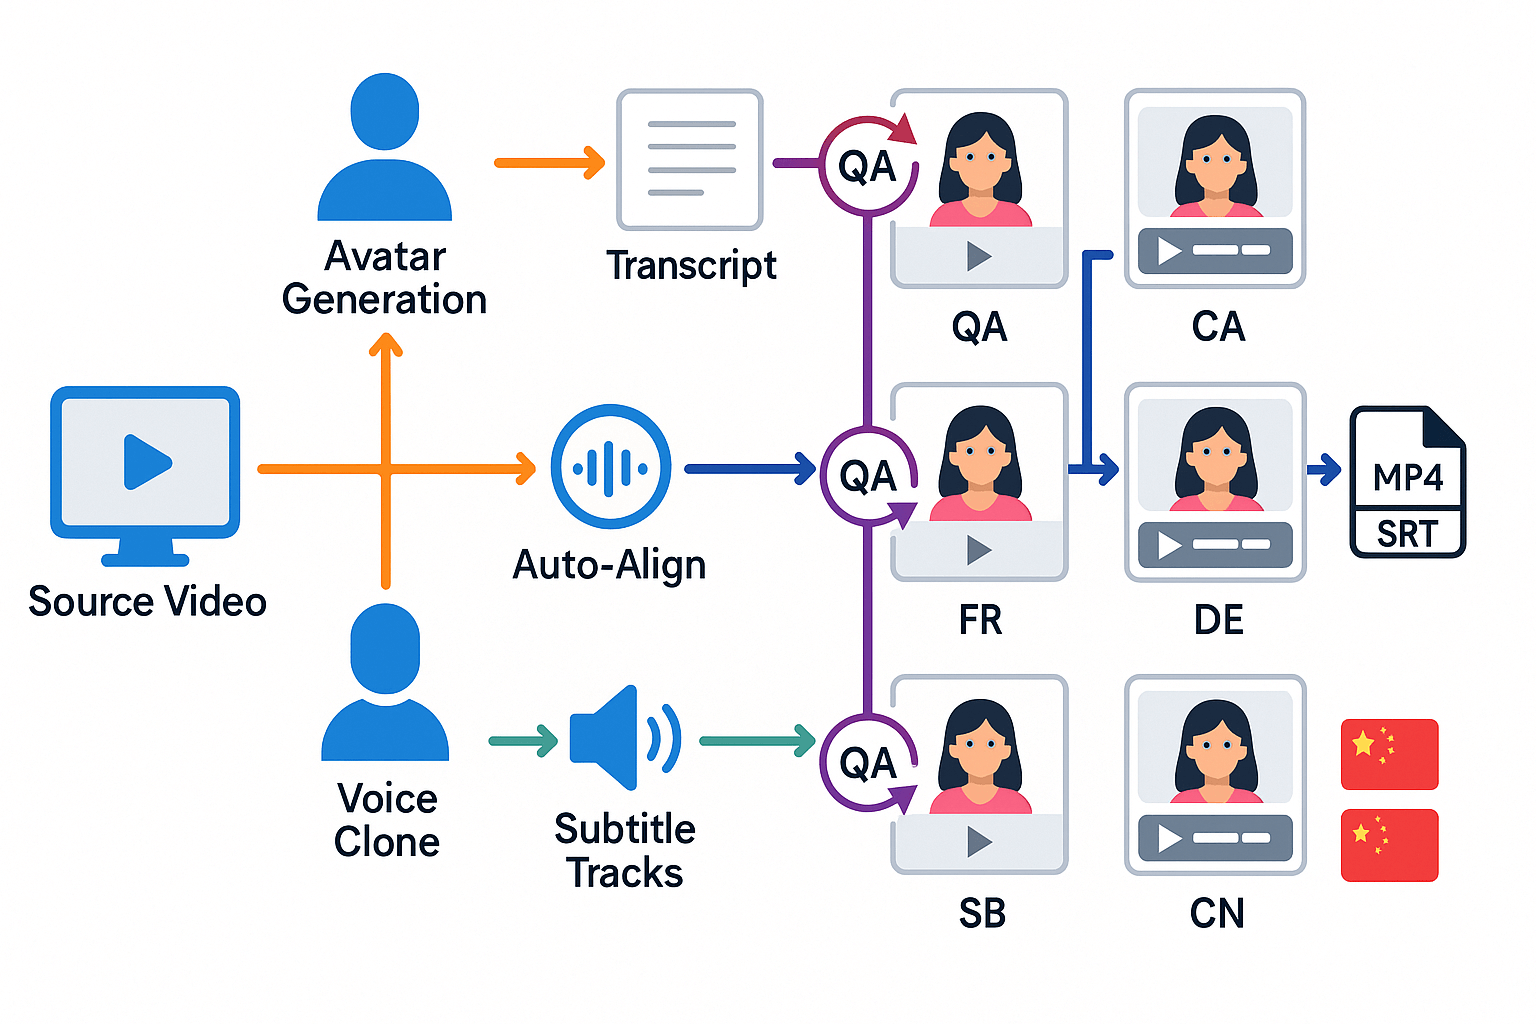
Export transcript: SRT or plain text with timestamps.
-
Auto-translate: run machine translation with a human review pass for key markets.
-
Create voice clones or pick TTS voices per language.
-
Auto-align audio to subtitles and export per-language MP4 and SRT.
-
Run a final QA pass on audio sync and subtitle timing.
Improve mouth sync with prosody and script edits
-
Break long lines: split sentences under 10 words for better mouth shapes.
-
Add short pauses: insert commas or explicit pause tags for natural breathing.
-
Match phonemes: rewrite tricky words so their sounds align with visible mouth shapes.
-
Use consistent voice speed: avoid mixing very fast and very slow clips in one scene.
-
Test with a voice clone: clone voice first, then tune script to that clone’s cadence.
-
Keep visual cues: add slight head nods or gestures to hide micro-sync issues.
Scale one shoot into N localized videos: timeline and assets
-
Day 0: Record source video and capture high-quality stills for avatar creation.
-
Day 1: Generate transcript and create avatars from the best photo frames.
-
Day 2: Create voice clones or select TTS voices for target languages.
-
Day 3: Run bulk dubbing and subtitle generation jobs.
-
Day 4: Sync avatars with dubbed audio and export first drafts.
-
Day 5: QA pass with native reviewers and final edits.
-
Day 6: Publish localized videos and push distribution.
Troubleshooting checklist for high-quality results
-
Audio clarity: remove background noise and normalize volumes.
-
Sync drift: confirm lips match speech at key visual beats.
-
Subtitle accuracy: check idioms and brand terms with a native reviewer.
-
Voice consistency: ensure cloned voice matches tone and gender expectations.
-
File exports: verify MP4 plays and SRT aligns in common players.
-
Credit use: track how many platform credits each run consumed.
Real creator use cases and expected ROI
YouTuber: faster uploads, wider reach
-
Views per localized version
-
Average view duration (watch time)
-
Subscriber growth from new markets
-
Cost per view and cost per new subscriber
-
Measure baseline: average views and watch time for the original. 2) After localization, calculate incremental views and revenue from new languages. 3) Divide incremental revenue by platform and production costs to get ROI.
E-learning creator: scale courses with consistent voice
-
Course completion rate by language
-
Learner satisfaction (NPS or rating)
-
Enrollment lift from localized landing pages
-
Time-to-publish for each language (speed gain)
-
Run a pilot with one module in two languages.
-
Compare completion, satisfaction, and enrollments to the English version.
-
Scale if the per-language enrollee acquisition cost is lower than manual dubbing.
Product marketing: faster product videos, multi-market launches
-
Time-to-market for localized assets
-
Engagement lift in target markets (CTR and watch time)
-
Conversion lift on localized landing pages
-
Cost per localized asset
-
BaselineCost = sum of manual talent + studio + editor fees.
-
AICost = subscription or credits used + editor time.
-
TimeSavedHours = ManualHours - AIVideoHours.
-
ROI = (IncrementalRevenue - AICost) / AICost.
|
Task
|
Manual approach
|
Avatar + AI dubbing
|
|
Total time
|
18 hours
|
3.5 hours
|
|
Production cost
|
$1,200
|
$120
|
|
Time saved
|
—
|
80%
|
|
Cost saved
|
—
|
90%
|
-
Start small, run A/B tests between a manual localized video and an avatar-localized video.
-
Track the metrics above for 30 to 90 days.
-
Log hours spent and platform credits used.
-
Translate those savings into hourly-rate equivalents and incremental revenue per language.
-
Use the pilot to set conservative multipliers for your full plan.
-
Report both hard savings (dollars, hours) and soft gains (faster launches, consistent voice).
-
Keep an experiments log so you can iterate and show clear ROI to stakeholders.
FAQ — common creator questions answered
-
Commercial use: how to create avatar from photo and rights
You can monetize videos made with an avatar if you own the photo or have written permission from the subject. Review platform terms and the acceptable use policy, and keep clear consent records if you plan to sell or monetize the content.
-
Privacy of photos and voice clones
Assets should be processed and stored with encryption, and voice clones should be locked to the original speaker. For stricter controls, delete unused assets from your dashboard and request enterprise data-handling options if needed.
-
Avatar limits per plan and credits
Plan limits vary by tier. Trials include starter credits, while paid plans scale avatar hours and avatar counts. Higher tiers expand total render hours and avatar slots, and pay-as-you-go credits can cover burst usage. Always check the current pricing page for exact limits and credit calculations.
-
How to fix a low-quality avatar from a photo
Use a high-resolution, front-facing photo with neutral lighting and minimal shadows. Avoid busy backgrounds and extreme expressions. If lip sync or motion looks off, try a clearer source photo or adjust quality settings before regenerating.
-
Voice cloning rights for avatar videos: can I clone a voice I don’t own?
No. Only clone a voice with explicit written consent from the speaker. Maintain signed releases that define scope, distribution, and commercial rights, and comply with local laws before publishing.
-
Avatar API: automate avatar creation
API endpoints can automate avatar creation, dubbing, and subtitle workflows. Use APIs for batch localization, monitor credit usage carefully, and test integrations with a small pilot before scaling.
-
Get help fast
If issues arise, use in-app support chat or submit a ticket with screenshots and reproduction steps. For billing or plan questions, review the pricing documentation or contact support directly. Developers should consult API documentation for technical troubleshooting.

 Discord
 YouTube
 Tiktok
 Twitter
 Facebook
 Instagram