Yes. Modern AI can produce professional, consistent voice-over YouTube tracks. Done right, synthetic voiceovers match human timing and tone while cutting time and cost. Follow a simple workflow to get publish-ready audio fast.
-
Write and time the script. Break copy into short sentences, add emotion and pause notes, and mark target duration for each line.
-
Pick or clone a voice, then generate multiple takes. Preview styles, tweak pitch and pacing, and record a quick reference pass to match the visuals.
-
Align subtitles and clean audio, then export final files. Use automatic subtitle alignment, hand-fix misreads, normalize levels, and export WAV or high-bitrate MP3 for upload.
Why use AI voiceovers for YouTube in 2026
AI voice tools now speed up production, cut costs, and help creators reach global audiences. If you make regular videos, using AI lets you turn one script into many language versions and produce consistent reads fast. For creators doing voice over youtube content, AI keeps tone steady across uploads.
Faster production and scaling
AI shortens the path from script to final audio. Text to speech and cloned voices produce polished narration in minutes, so you can publish more often. Teams and solo creators use AI to batch-record series, produce chaptered explainers, and test new formats without hiring voice talent.
Localization and brand consistency
Localization gives one video many regional variants, which increases reach and watch time. Cloned voices and curated TTS styles preserve brand tone across uploads, avoiding voice drift between projects. For context on enterprise adoption, see that
OECD (2025) reported that in 2024, 13.5% of enterprises in the EU used artificial intelligence, marking a notable increase from previous years. AI fits creators who need speed. It lowers per-video cost too.
Common use cases:
-
Narration for tutorials, explainers, and courses
-
Multilingual dubbing with subtitle alignment
-
Channel scaling and batch voiceover production
Quick DupDub overview — what it does and where it fits
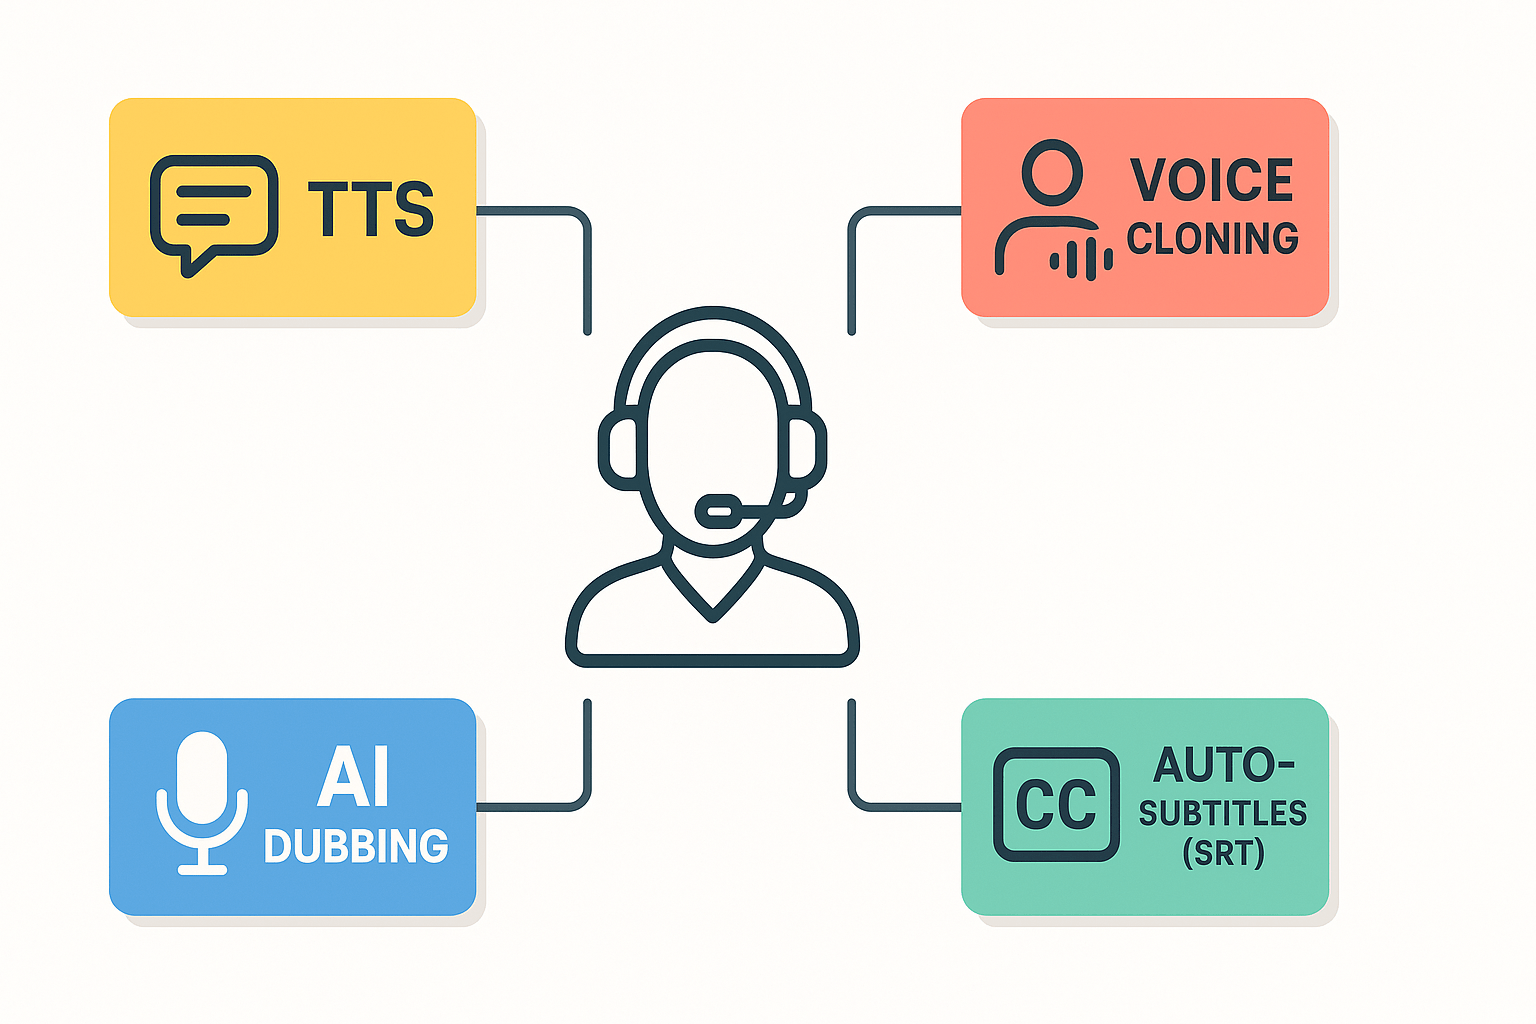
DupDub bundles four core modules that let creators produce fast, consistent voice work for video. If you make voice over youtube content, DupDub gives a one-stop path from script to synced audio and captions. This overview shows what each module does and which creator types gain the most.
Core modules and who benefits
-
AI Dubbing: Full video translation and re-voicing with subtitle alignment. Best for channels that want fast localization and global reach.
-
Voice Cloning (30s sample creates a clone): Keeps a consistent brand voice across videos. Ideal for creators, podcasters, and training teams who need the same voice in many languages.
-
Text-to-Speech (700+ voices, 90+ languages): Quick narration for explainers, listicles, and e-learning. Use it when you need many scripts voiced cheaply and cleanly.
-
Auto-subtitles and alignment (SRT export): Auto-transcribe, translate, and sync captions. Essential for accessibility, watch-time, and search visibility.
Privacy and compliance highlights
Voice cloning is locked to the original speaker, and processing is encrypted. DupDub states GDPR-aligned handling, which matters for enterprise and education use.
For deeper technical reads, consult the Neural TTS cluster pages and DupDub’s signup flow to test these modules quickly.
Step-by-step workflow: Create a YouTube voiceover with DupDub
Start with the script and a clear goal: audience, tone, and length. This section shows a practical flow from script prep to YouTube upload, and explains when to pick voice cloning or TTS. If you want to scale or localize, this workflow keeps quality high and time low for voice over youtube projects.
Prep the script and timing
Write a tight script and mark natural pauses. Aim for short sentences and one idea per line. Add parenthetical notes for emotion or pace so the synthetic voice stays natural.
Choose voice cloning or TTS
Pick voice cloning when you need a branded, repeatable voice from a single speaker. Choose standard or expressive TTS for many languages and fast iterations. DupDub speeds this choice with one-click cloning from a 30 second sample, and 700+ ready voices to test.
Record or import audio
Import a reference clip or record directly in the browser studio. Recording lets you keep timing and breaths that cloning can match. DupDub’s editor accepts MP3 and WAV, and it auto-syncs audio to your script.
Ordered workflow: follow these steps in the DupDub app
-
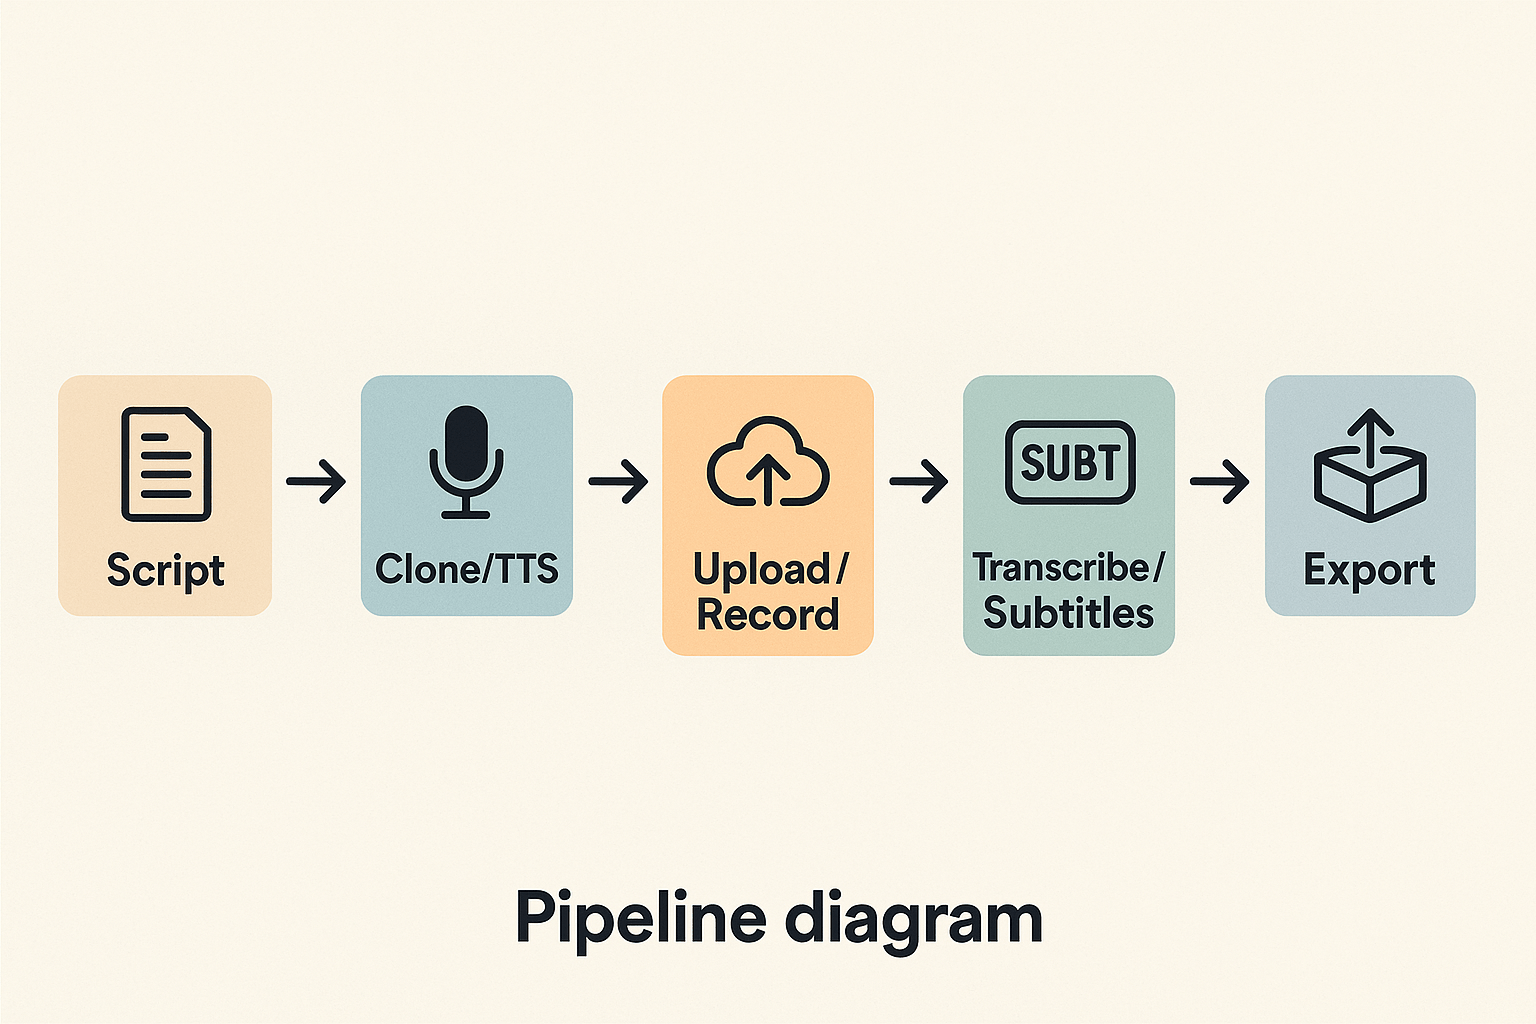
Script: Paste or upload your script, then auto-segment lines for reading. DupDub auto-splits long paragraphs for better pacing.
-
Clone or pick TTS: Upload a 30 second sample for cloning, or choose a voice from the library. The interface previews lines so you can hear tone before generating.
-
Upload or record video/audio: Add your video or raw track. DupDub keeps video frames while it replaces the audio.
-
Transcribe and subtitle: Run auto-transcription to create captions and SRT. The tool also translates subtitles for multilingual versions.
-
Sync and edit: Use auto-align to match speech to captions, then trim pauses and adjust timing manually. The visual waveform makes edits fast.
-
Export: Render audio-only or MP4 with dubbed track and burned captions. Choose WAV for high quality or MP3 for smaller files.
Final checks and upload
Listen at normal speed and at 0.8x to catch mispronunciations. Verify caption timing and speaker labels for accessibility. Then export and upload with a descriptive title, transcript in the description, and SRT file attached.
Equipment & home studio recommendations (budgets: beginner → pro)
Good audio beats fancy gear. Below are concrete picks for three budgets and simple room fixes that lift any recording. You can produce high-quality voice over youtube with modest kit.
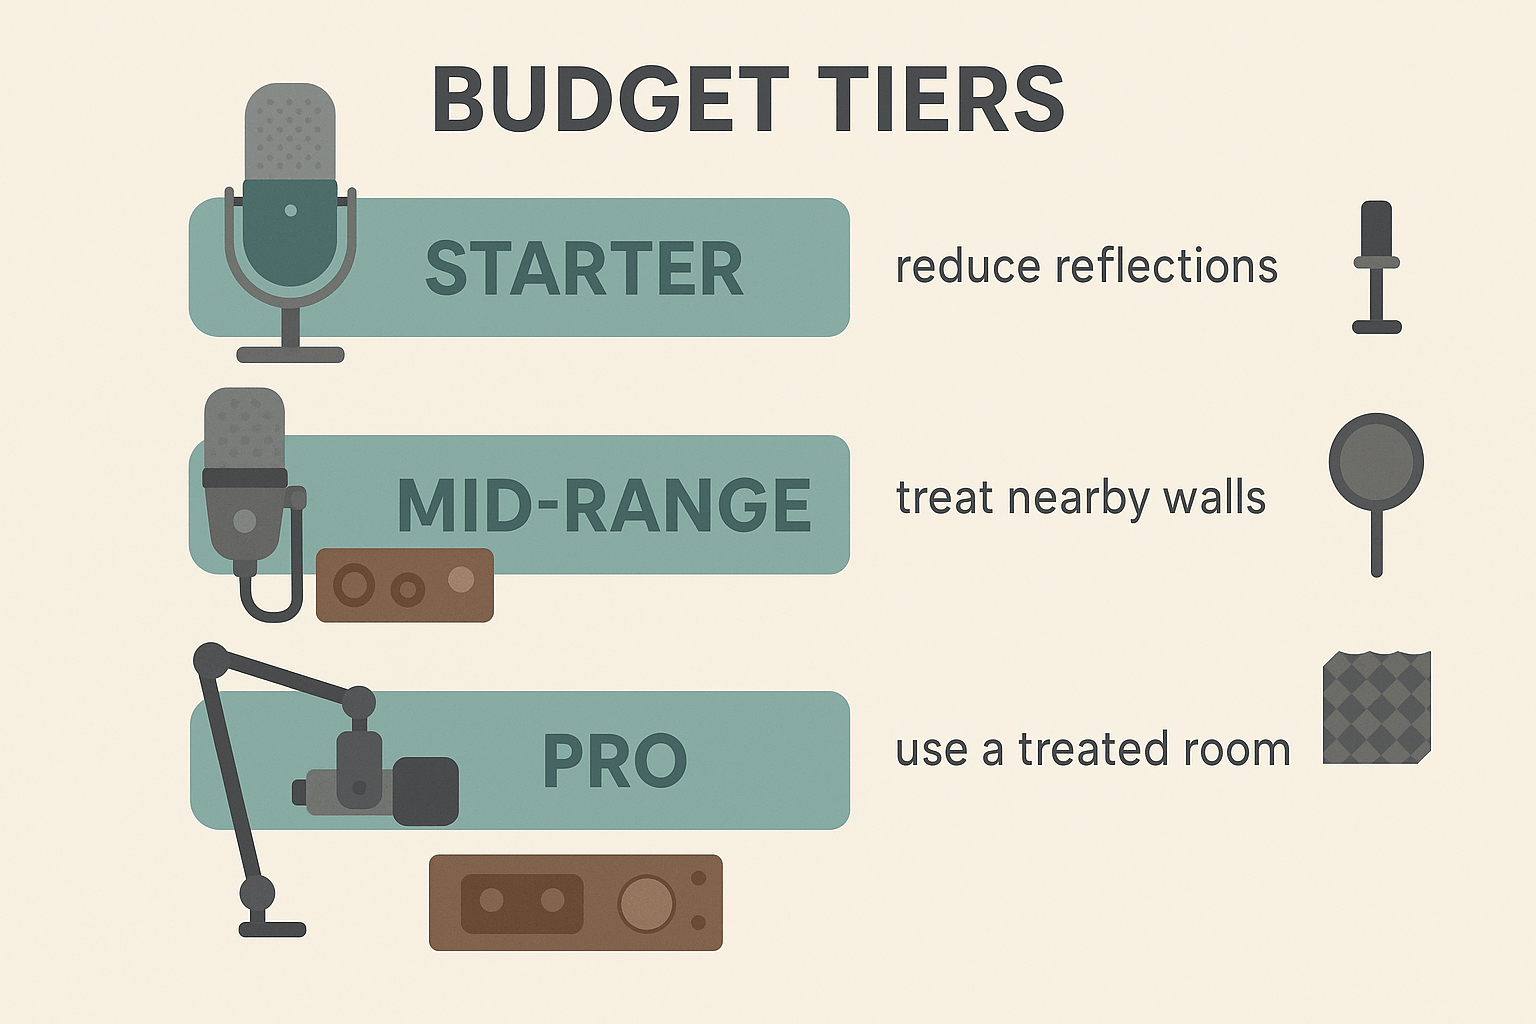
Gear picks by budget
-
Starter tier: USB, simple, fast
-
Mid-range tier: more control, better tone
-
Gear: XLR mic like Rode NT1-A or Shure SM58, Focusrite Scarlett 2i2 interface, boom arm, pop shield. Gain staging matters, aim for peaks around -6 dB. Add a few foam panels or a vocal shield.
-
Pro tier: broadcast quality
-
Gear: Neumann TLM 103 or Sennheiser MKH 416, Universal Audio Apollo Twin or RME interface, quality preamp, studio monitors and headphones. Treat first reflection points and ceiling for a dry, consistent voice.
Quick acoustic tips
-
Record close to the mic, six to twelve inches, use a pop filter.
-
Reduce room reflections with blankets, rugs, or inexpensive panels.
-
Monitor with closed-back headphones and record dry audio for AI cleanup.
Most DupDub workflows succeed with modest gear because AI cleanup and enhancement are powerful. Start small, upgrade parts one at a time, and focus on a quiet, treated recording space for the biggest gains.
Editing, common problems & troubleshooting checklist
This checklist helps you diagnose and fix frequent voiceover flaws fast, and decide when to re-record. It covers background noise, room echo, sync drift, and loudness so your voice over youtube tracks sound clean and consistent. Follow the steps, use the quick tests, then decide whether editing or re-recording saves time.
Quick diagnostic checklist
-
Background noise: listen with headphones at -6 dB. If noise is steady (AC, fan), use a noise gate or spectral remover, then re-check. If noise varies or masks words, re-record.
-
Room echo: clap test to hear decay. Small echo: use de-reverb tools and tighter EQ. Long reverb or large room sound: re-record with closer mic placement and soft treatment.
-
Sync drift: scrub transcript and audio together. If voice drifts by frames, realign with subtitle/sync tools or export fixed-time stamps. If entire take is stretched, replace with a new recording.
-
Loudness and peaks: check integrated LUFS and true peak. Apply light compression, then limiter to tame transients.
When to re-record vs edit
Edit when issues are short, like clicks, pops, or a noisy breath. Re-record when audio has persistent background noise, strong echo, timing problems, or tone mismatch. If you spend more than 15 minutes fixing a clip, re-recording is usually faster and cleaner.
LUFS leveling guide
For broadcast contexts,
EBU R 128 (2020) recommends normalizing program loudness to -23 LUFS and measuring loudness using ITU-R BS.1770. For YouTube, aim for about -14 LUFS integrated and keep true peaks below -1 dBTP. Use a loudness meter, apply gentle gain moves, and finish with a limiter.
Expert tip to sound natural
Add tiny breaths and human-style timing. Leave short pauses between sentences, keep micro-dynamics, and avoid fully flattened TTS timing. Small breathing artifacts and natural pacing boost realism and trust.
YouTube SEO & accessibility for voiceovers
Good captions and transcripts boost both reach and usability. If you add a script or transcript, YouTube can index more keywords and improve search signals for searches like voice over youtube. Accessibility rules also demand clear captions for prerecorded media, so never skip them.
Make captions and transcripts work for discoverability
Include an accurate transcript, timecode-aligned captions, and translated subtitles. For accessibility, captions are provided for all prerecorded audio content in synchronized media, except when the media is a media alternative for text and is clearly labeled as such, as noted by
Understanding Success Criterion 1.2.2: Captions (Prerecorded), so enable them. Add keyword-rich phrases to the first 2 lines of your transcript and pin those phrases in the description.
Translate dubs, metadata, and link internally
Localized dubs expand GEO reach and retention when you pair them with translated titles and descriptions. Add translated titles, descriptions, and tags using native phrases and a local audience test. Link to your Neural TTS cluster pages and native-language playlists to signal topical depth.
Quick checklist:
-
Upload SRT and full transcript
-
Add translated title + description for each dub
-
Include chapter markers and keyworded first lines
Pricing & plan guide — which DupDub plan fits your channel?
Start with the goal: test voice over youtube workflows fast, then scale predictably. If you want low-risk trials or a monthly small-volume workflow, the free trial and Personal plan make sense. For channels growing volume, frequent localization, or team use, consider Professional or Ultimate as you outgrow credits and file limits.
Start small: Free trial or Personal
Use the 3-day free trial to test cloning, TTS, subtitle alignment, and exports. Choose Personal when you make under 25 hours of standard TTS a year, need a few voice clones, and want predictable monthly billing.
Upgrade when you scale: Professional or Ultimate
Upgrade when you publish weekly, localize multiple languages, or need more simultaneous avatars or clones. Professional fits active creators who need larger transcription and TTS allowances. Ultimate is for studios and teams that need high-volume exports and unlimited file sizes.
Pay-as-you-go and burst capacity
Pay-as-you-go is ideal for one-off dubbing bursts or ad campaigns. Buy credits when you need sudden capacity, then return to your subscription.
Mini case study: How a creator scaled 50 videos using DupDub
A mid-size tech educator faced a backlog of 50 short explainers and needed fast, consistent voice over youtube narrations. They wanted the same brand voice across episodes and languages, but hiring voice talent would cost weeks and blow the budget. They adopted a DupDub-first workflow to clone the host voice, batch-produce TTS, auto-align subtitles, and export ready-to-publish MP4s.
The workflow was simple and repeatable: record a 30 second reference for voice cloning, upload scripts in bulk, pick the cloned voice or an Ultra TTS, enable subtitle alignment, then queue batch exports. This cut per-video narration work from days to under an hour, and enabled simultaneous localization into three target languages. The creator kept a single, consistent voice across all variants, which made localization feel seamless to returning viewers.
"Scaling voice content hinges on repeatable tools, not extra hires," says Lena Ortiz, Audio Lead at DupDub. "A reliable clone plus auto-subtitles turns a one-off task into a production line."
Three lessons you can copy
-
Standardize the source: keep one script template and a single reference voice file. It speeds cloning and QA.
-
Batch everything: upload scripts and export in groups to save time on manual edits.
-
Lock the brand voice: use voice cloning for consistency, and always review automated subtitles.
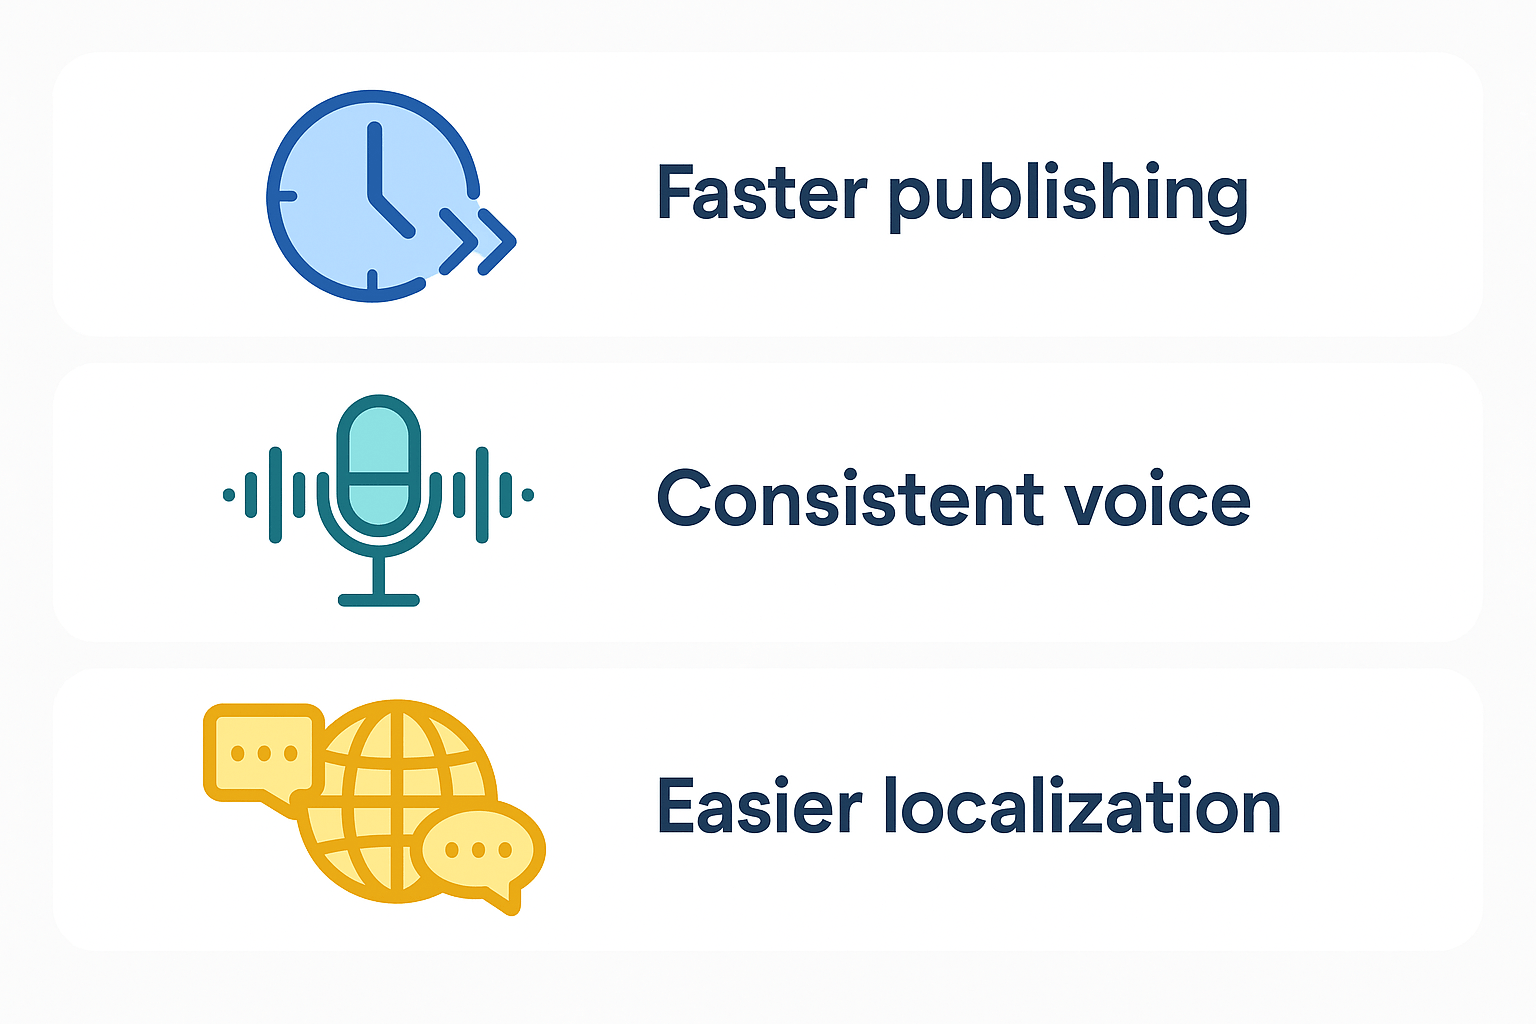
Visual summary: an infographic showing faster publishing, consistent voice, and easier localization.
FAQ — Common questions about AI voiceovers and DupDub
-
When should I choose AI voiceovers versus human narration?
AI voiceovers work best for clear, consistent narration, scalable production, and fast localization. Human narration is better for emotionally complex performances or strong brand nuance. Test both approaches on a sample video and compare metrics like viewer retention and engagement before scaling.
-
Is voice cloning legal and safe?
Voice cloning is legal when you have explicit written consent from the speaker. Use platforms that lock cloned voices to the original account, encrypt stored data, and follow local laws and platform policies to reduce legal and privacy risks.
-
How accurate are auto-subtitles for YouTube captions?
Auto-generated subtitles are fast and usually accurate for clear speech, but they still require proofreading. Review transcripts, fix recognition errors, align timestamps carefully, and export a corrected SRT file before publishing.
-
How do I avoid robotic audio in AI voiceovers?
Use high-quality voices, slow delivery slightly, and add natural pauses or subtle breaths. Light EQ and careful pacing also improve realism. Always preview the output and iterate until the narration sounds natural.




 Discord
 YouTube
 Tiktok
 Twitter
 Facebook
 Instagram